ComfyUI 03: Extension Installation
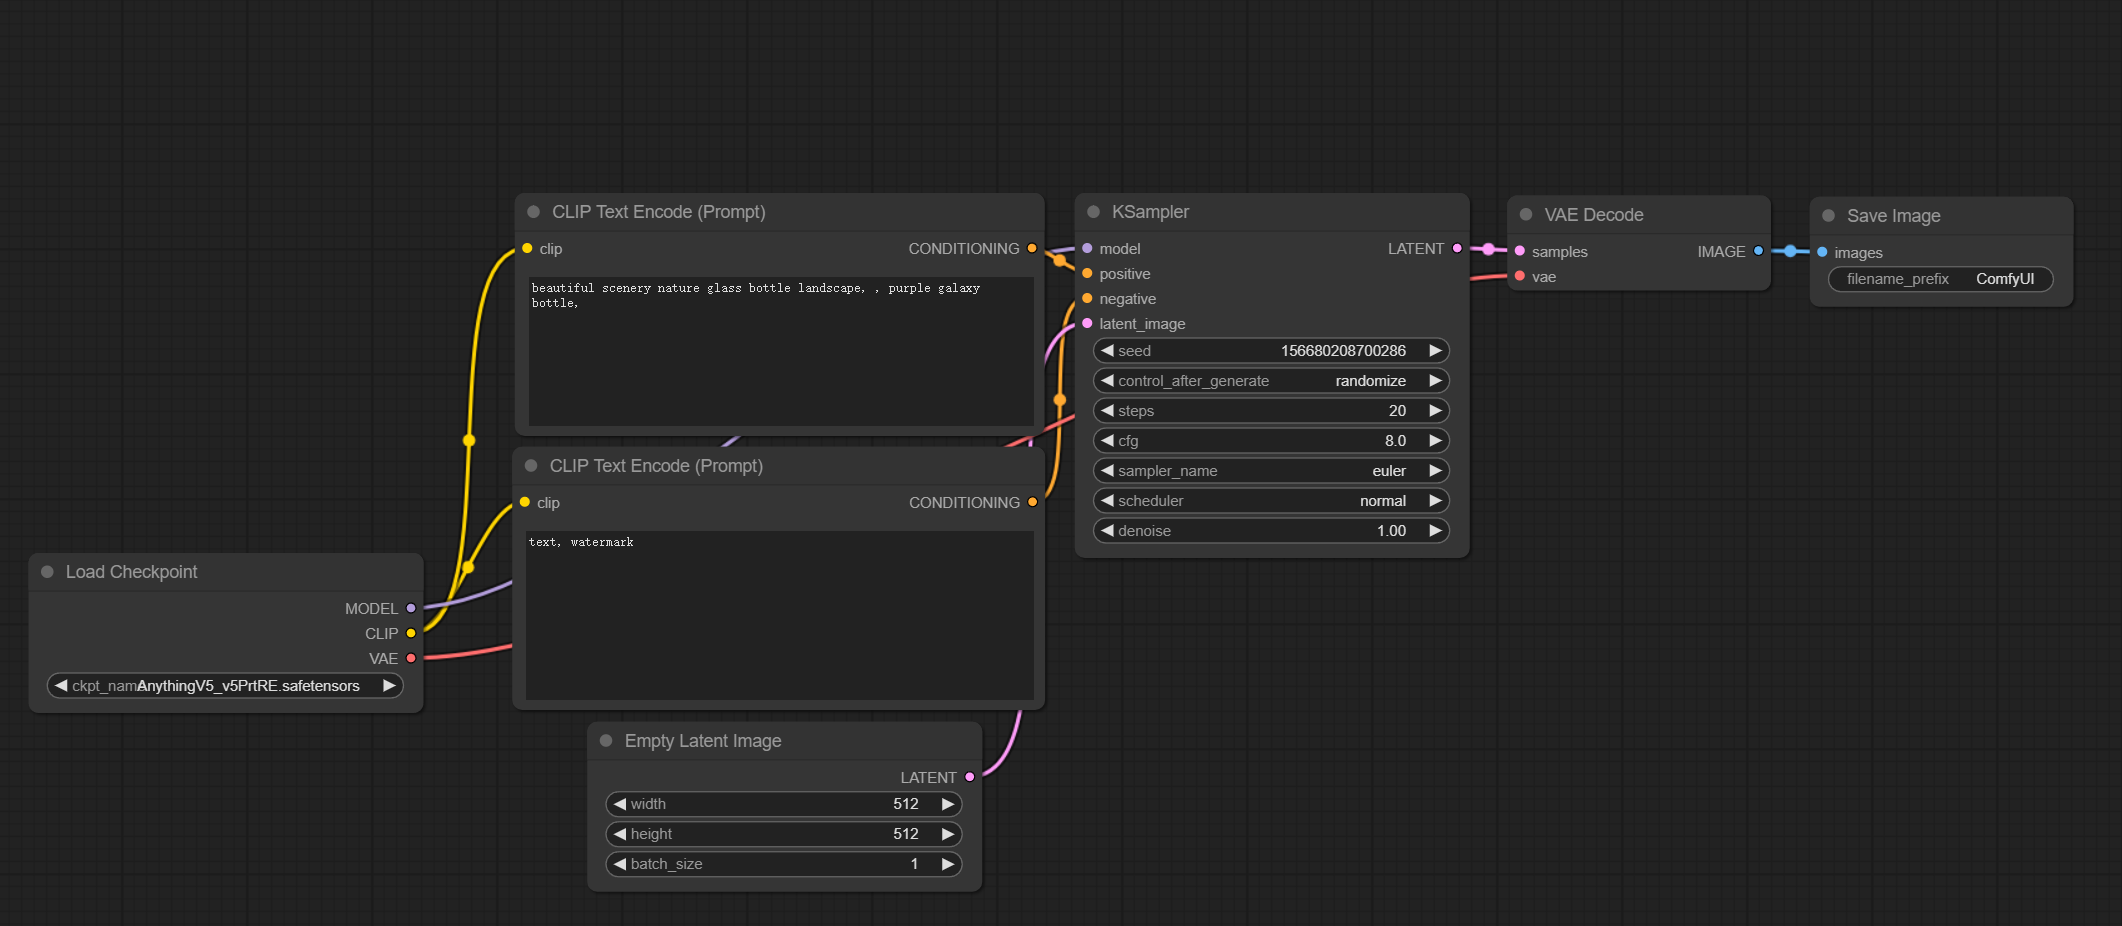
ComfyUI follows a node-based programming approach. The default startup example after installation is a basic set of nodes needed for image generation:
The image above includes loading a model, setting prompts, setting image size, choosing a sampler, VAE decode, and saving the image.
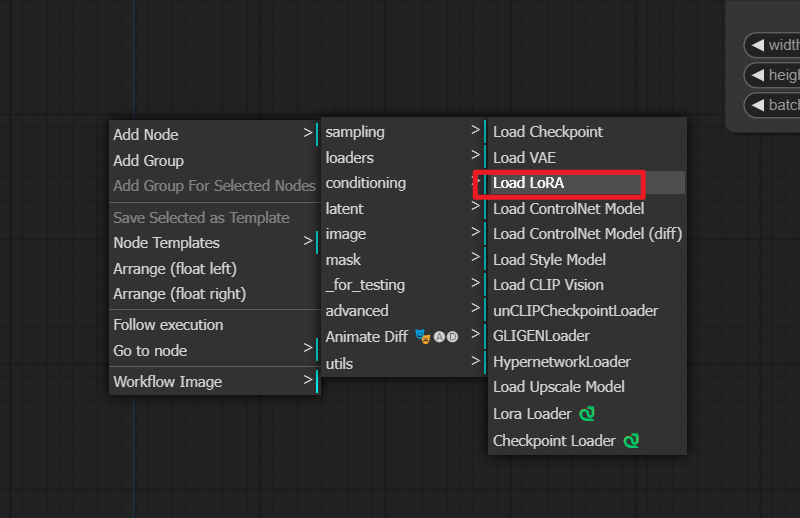
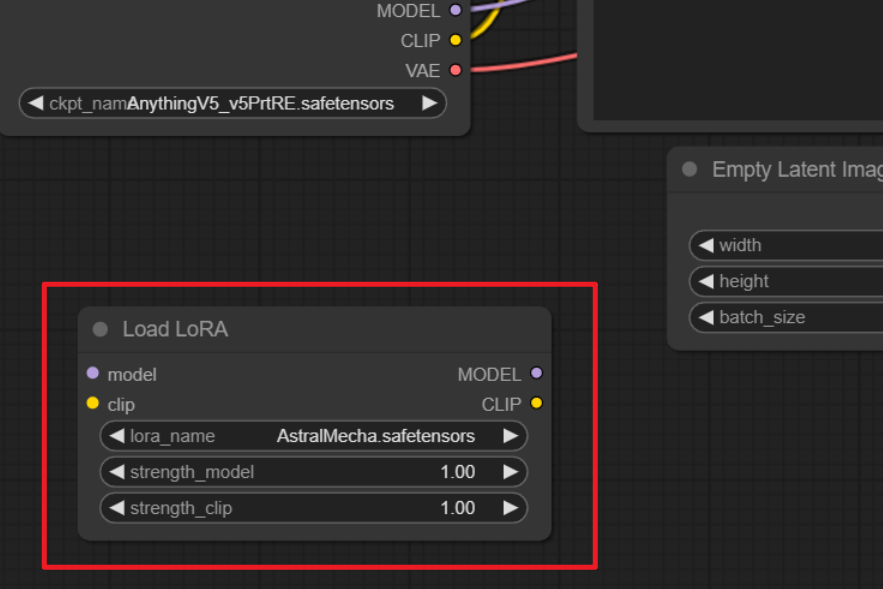
To expand functionality, you need to add nodes as needed. For example, adding a LoRA node:
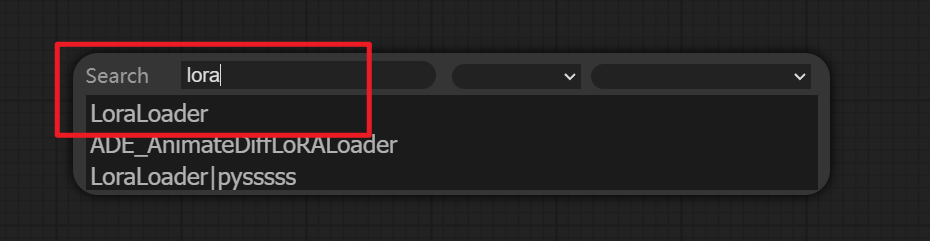
You can also use node search (double-click on an empty area):
This is different from webui's approach of having everything laid out from the start:

So having prior experience with webui and being familiar with common features is very helpful when using ComfyUI.
Accordingly, ComfyUI's built-in extensions may not be as rich as webui's out-of-the-box offerings. Just install what you need.
Like webui, there are two common methods for installing extensions:
- Manual installation of individual plugins;
- Using a plugin manager.
Manual Plugin Installation
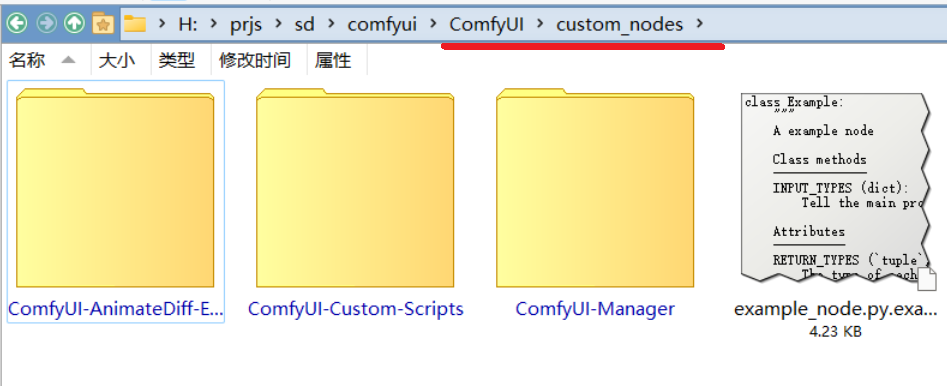
In ComfyUI, plugins are called custom nodes. All custom nodes are installed in the custom_nodes folder under the ComfyUI installation directory:
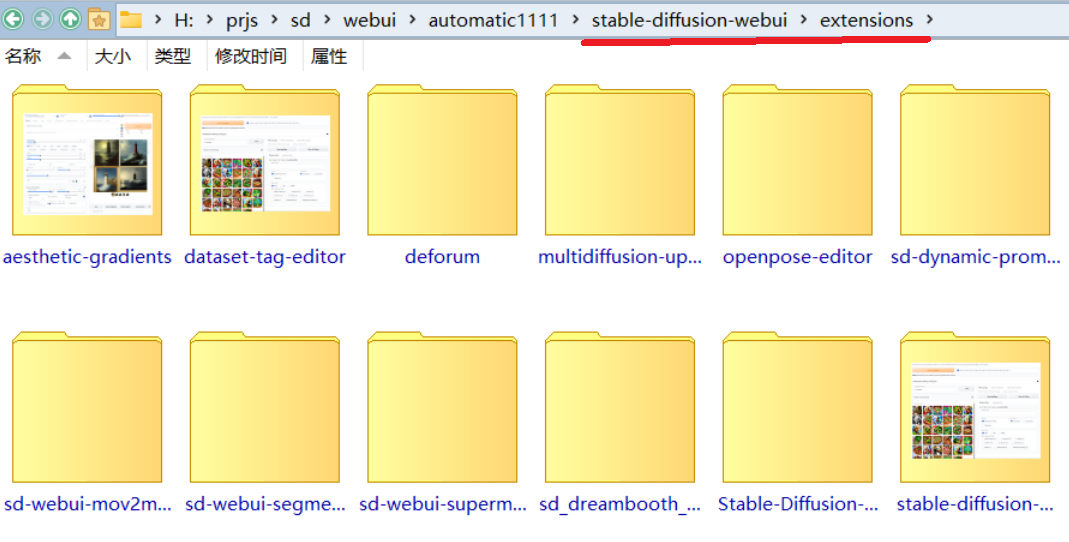
Compare with webui's extensions folder:
Installing a single plugin is similar to webui — just git clone the plugin into the custom_nodes folder.
For example, installing the ComfyUI Manager plugin: https://github.com/ltdrdata/ComfyUI-Manager
Three steps:
- In the command line, run:
cd D:\YOUR_COMFYUI_PATH\custom_nodes - Then run:
git clone https://github.com/ltdrdata/ComfyUI-Manager.git - Restart ComfyUI
Basic command line operations are covered in Lesson 1.
Example:

Using the Plugin Manager
The ComfyUI Manager we just installed is actually a plugin and model manager that lets you browse available plugin lists and install them.
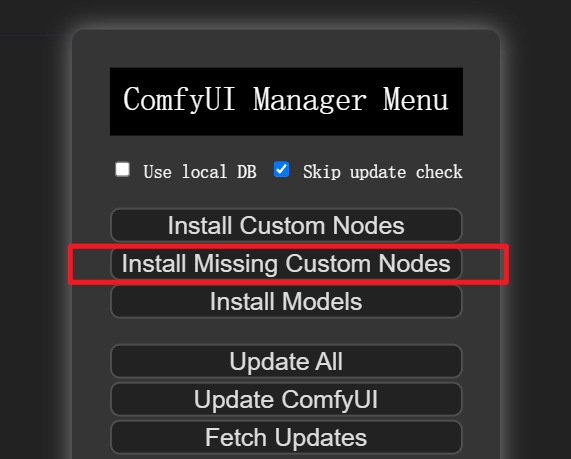
After installing ComfyUI Manager and restarting, a Manager option appears in the right-side main menu:
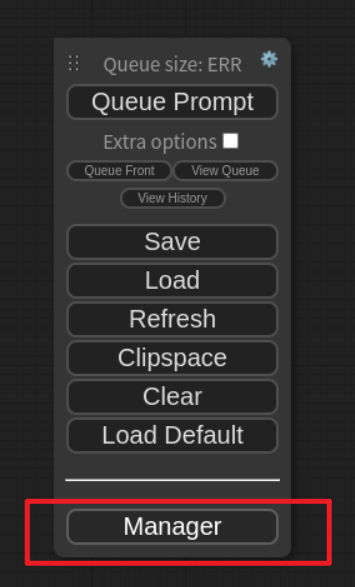
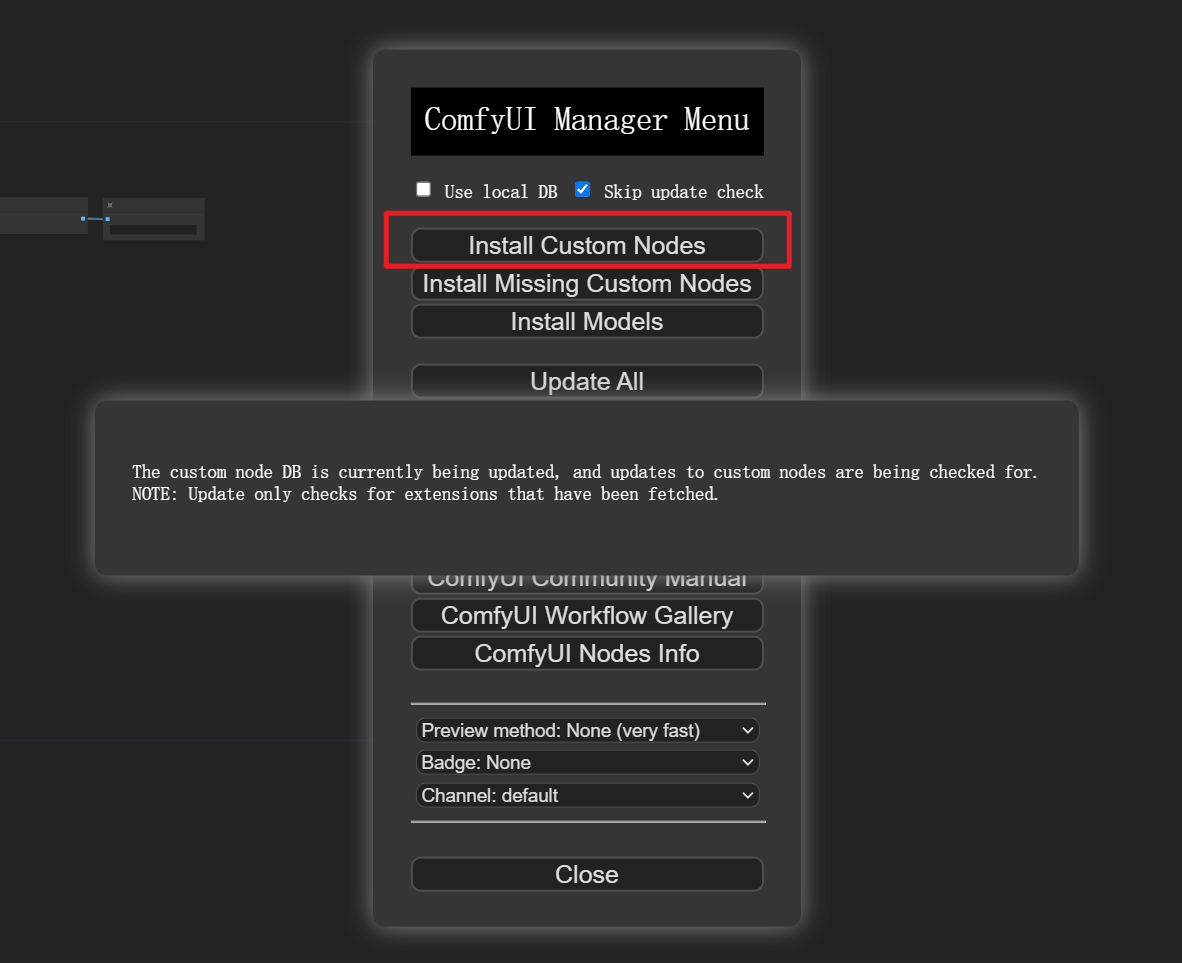
Click to open:
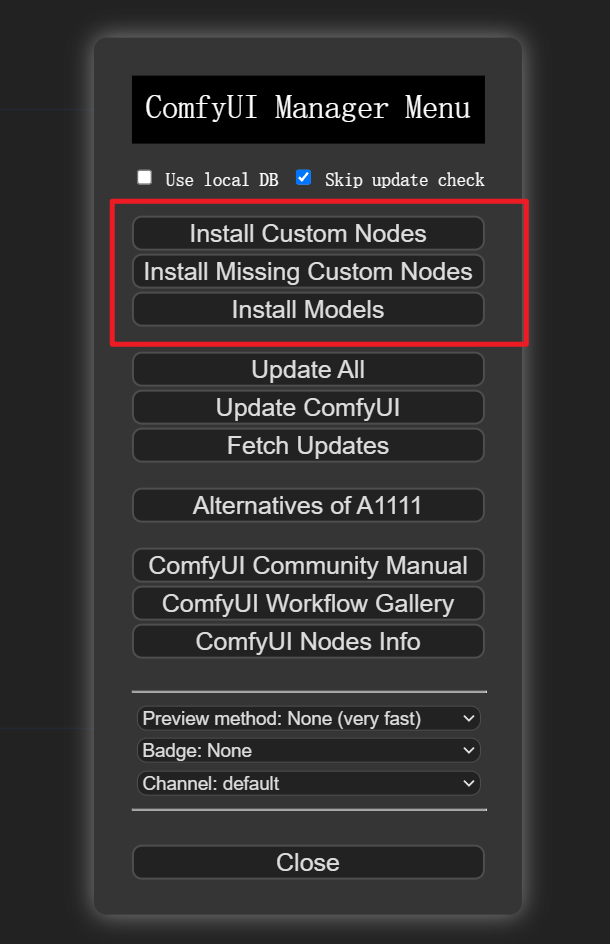
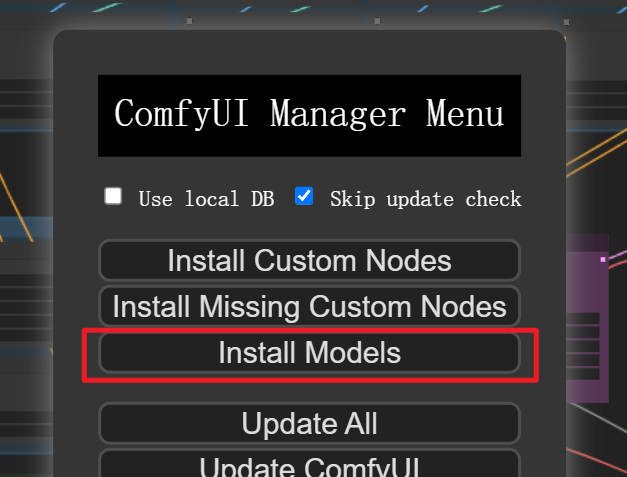
The highlighted options:
- Install Custom Nodes (plugins)
- Install Missing Custom Nodes (explained below)
- Install Models
Install Custom Nodes
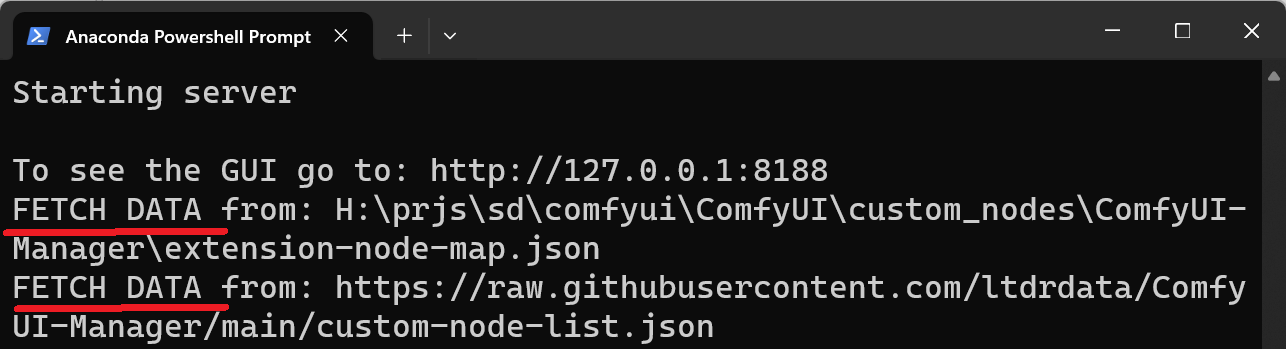
After clicking Install Custom Nodes, it fetches the available plugin list from GitHub:
The command line window shows the details:
You might encounter the classic connection timeout issue:
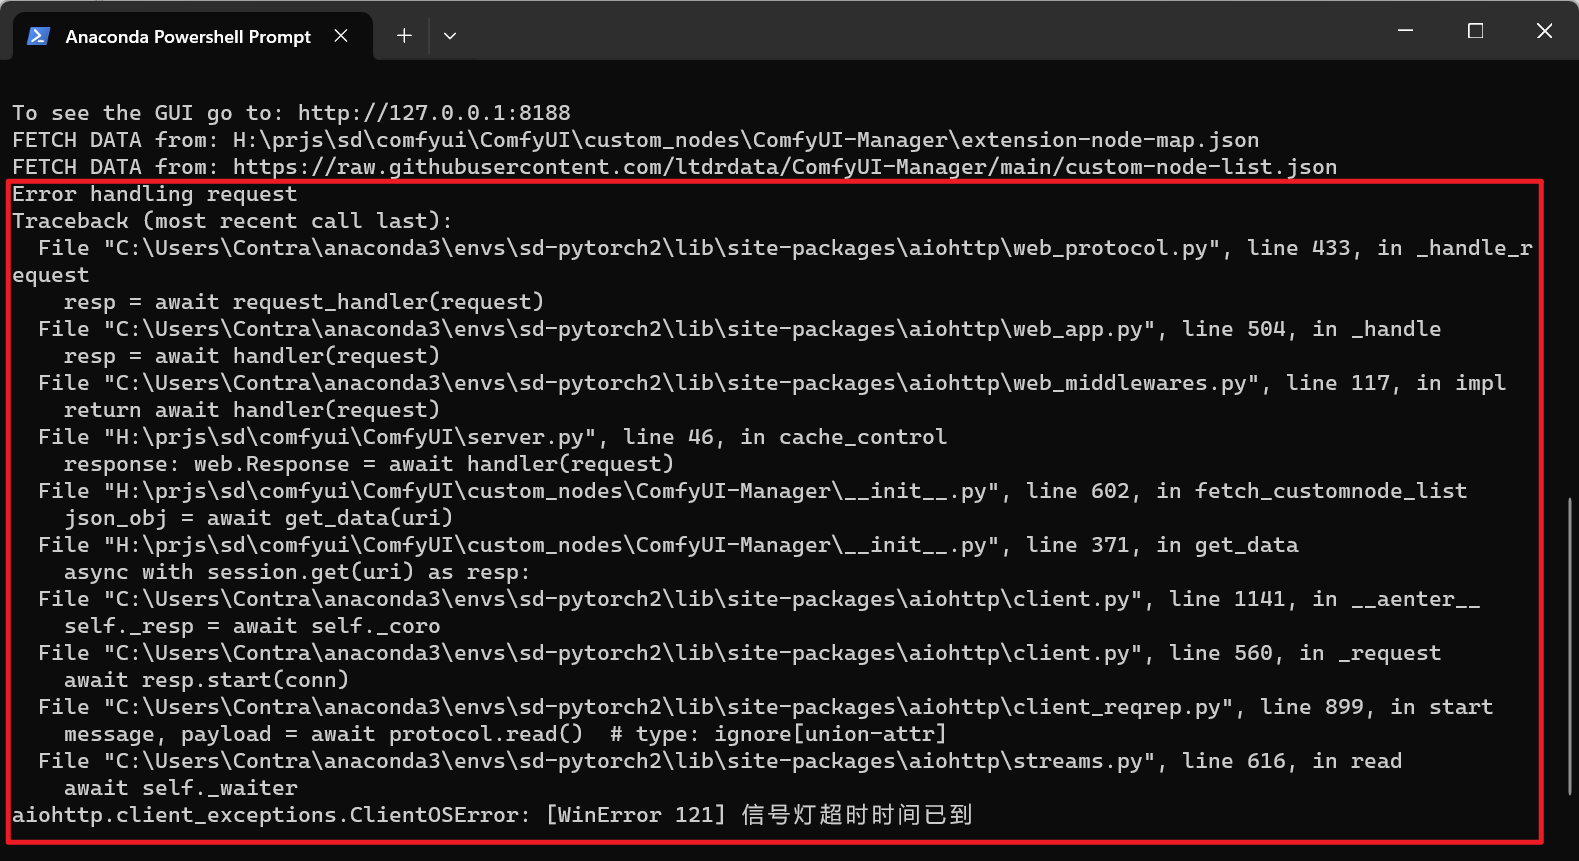
This can be resolved by configuring a proxy.
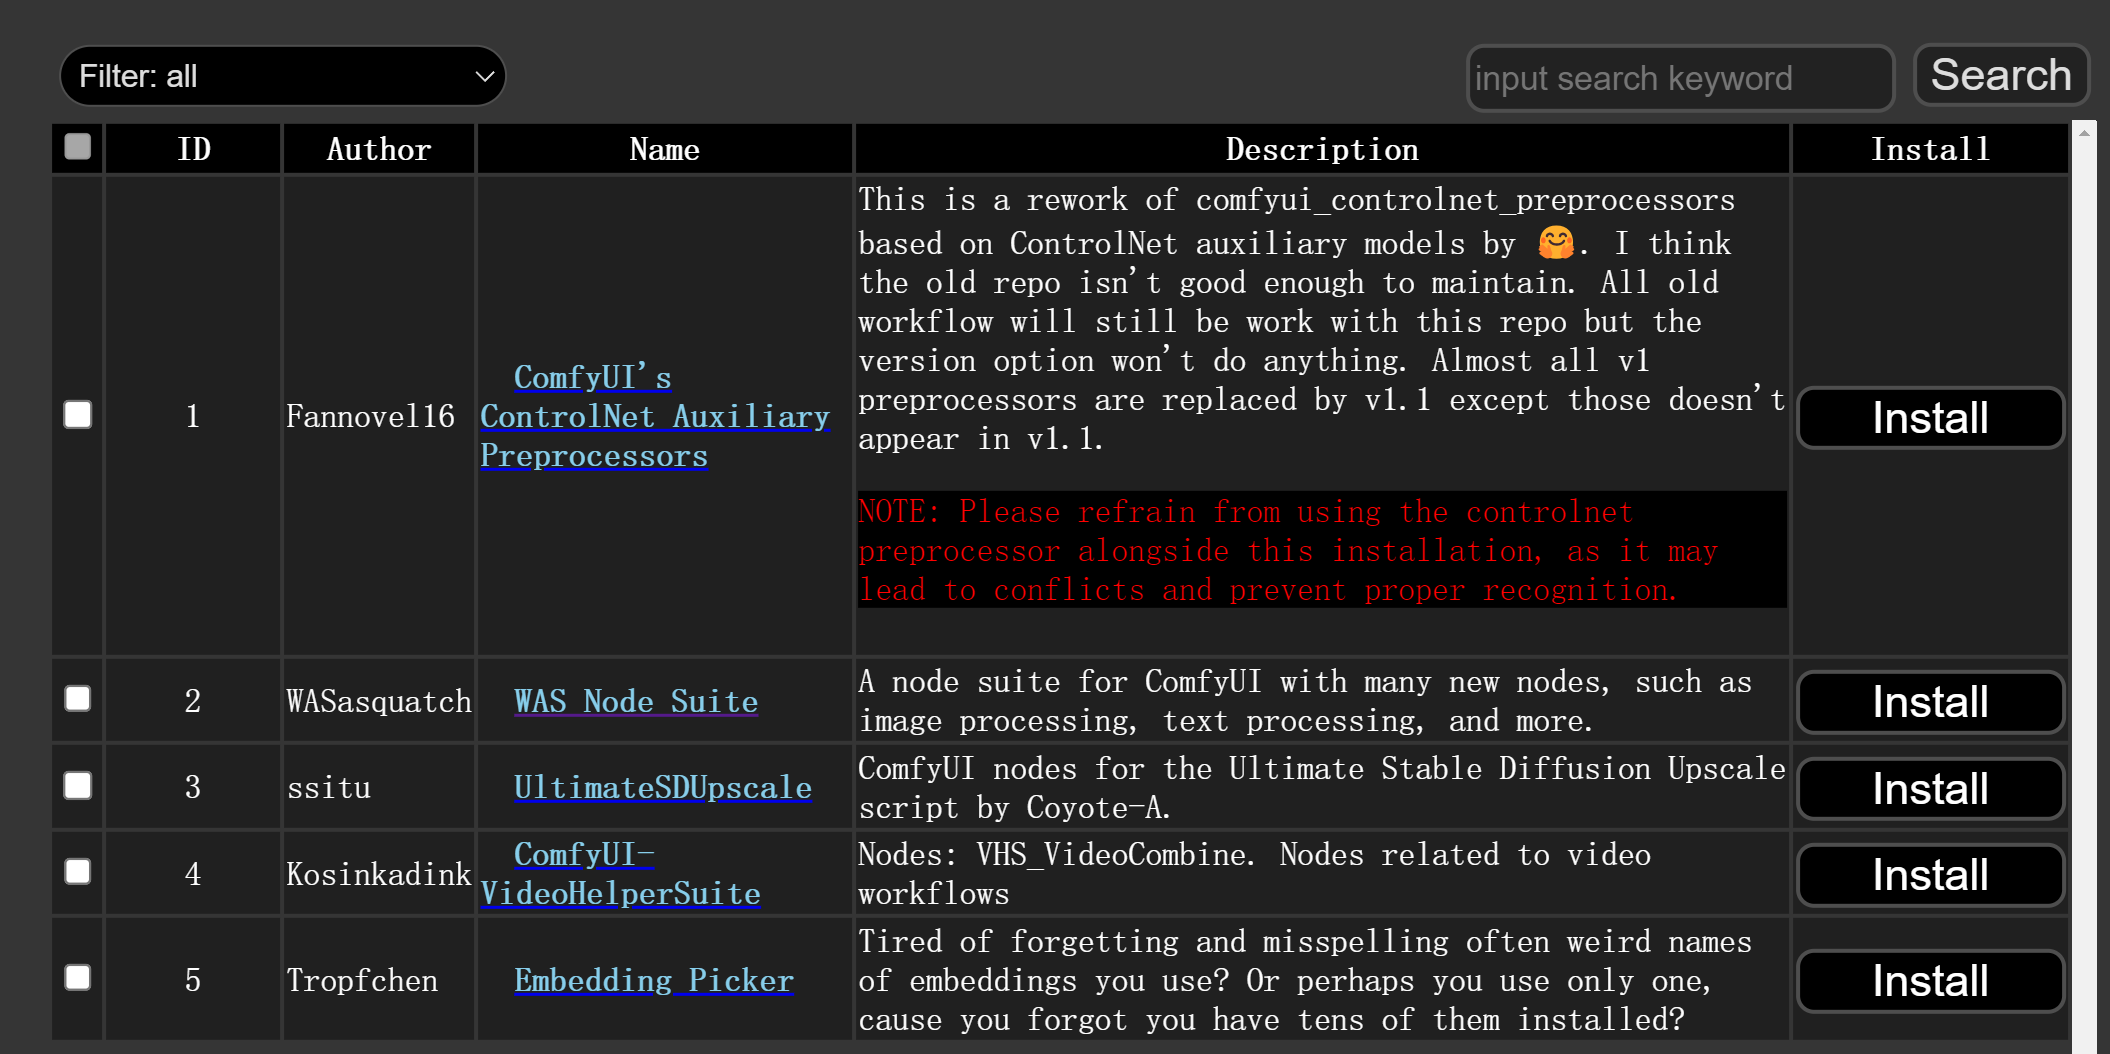
Under normal circumstances, the custom node management interface pops up:
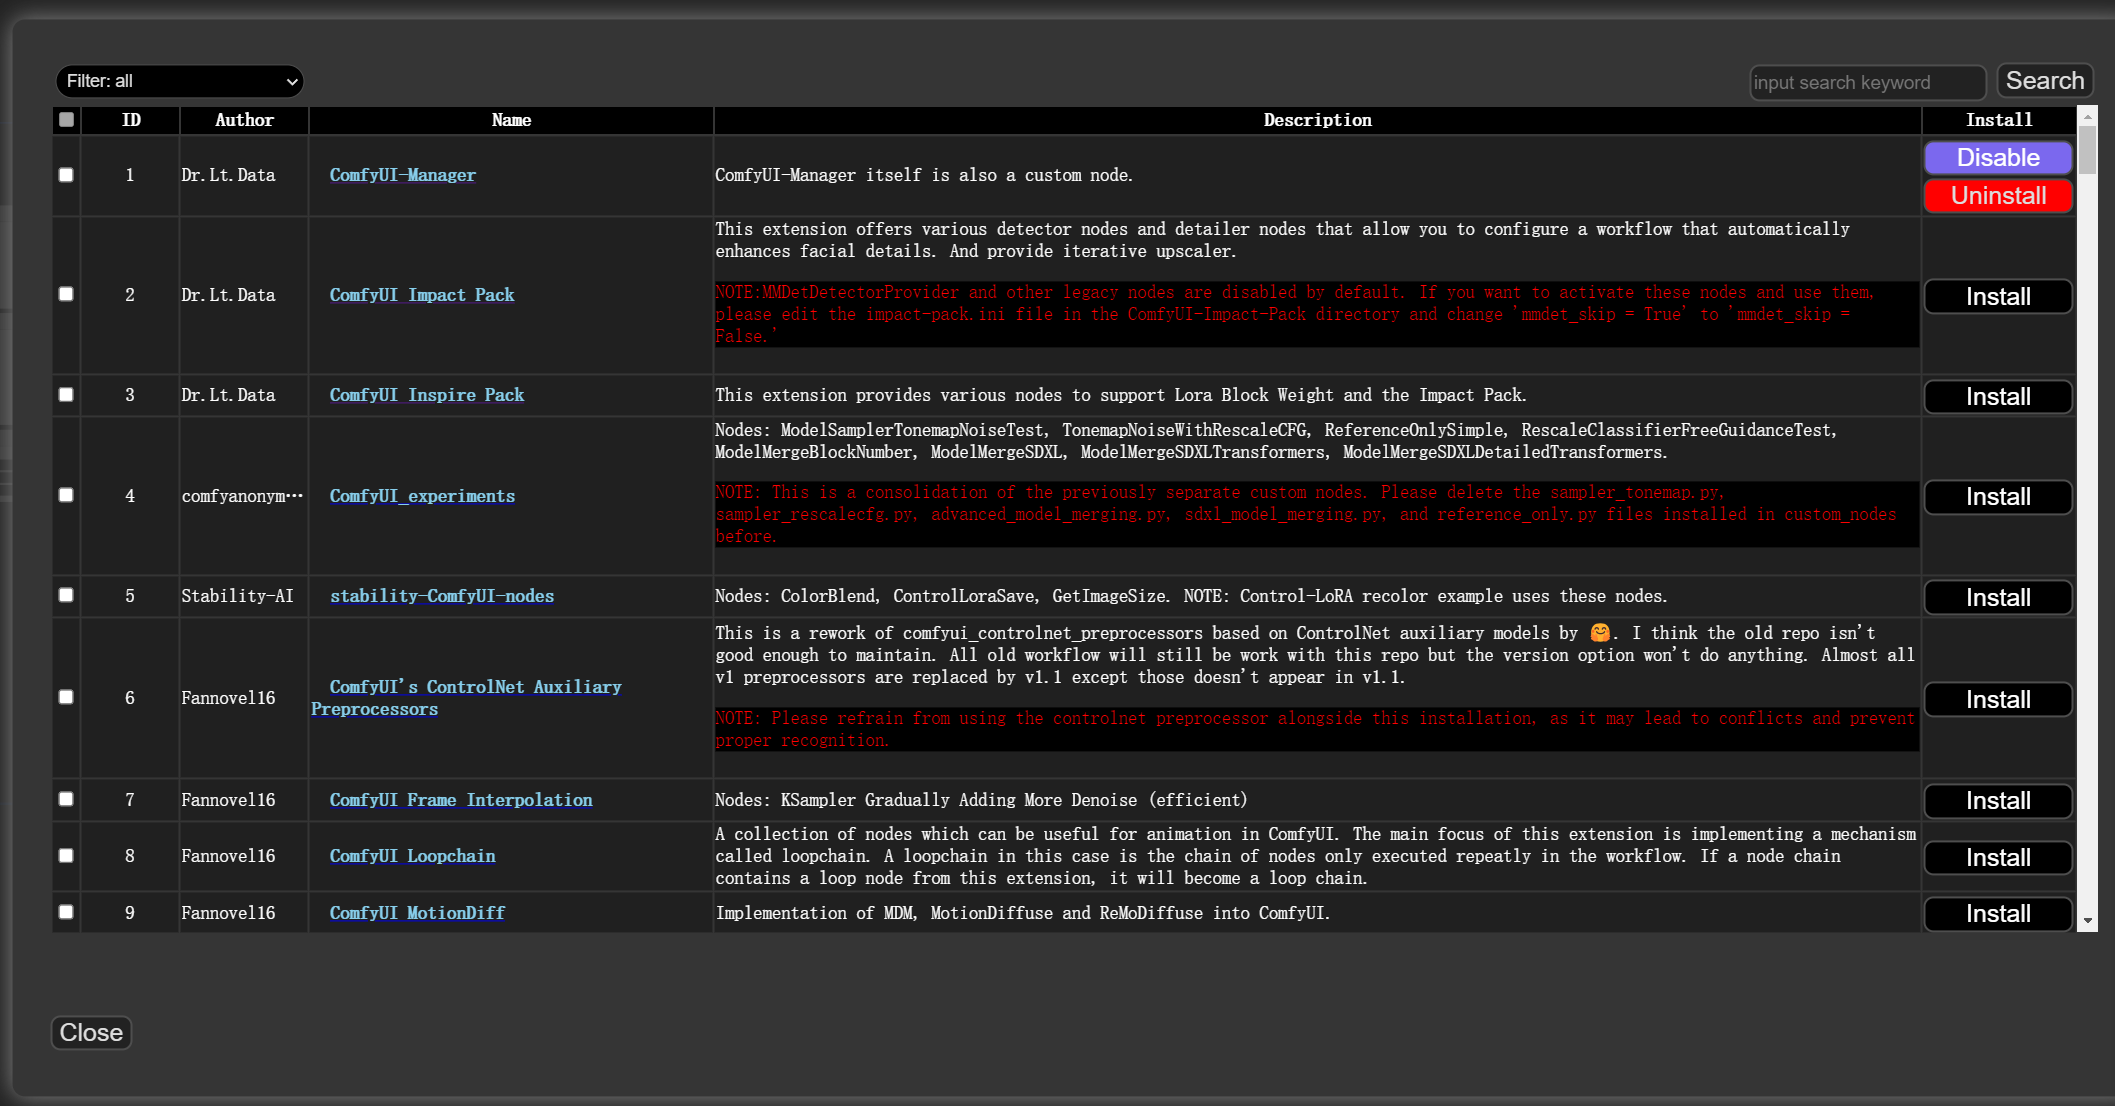
It lists plugin authors, names, and descriptions.
The rightmost Install column lets you install, disable/enable, and uninstall.
The red sections indicate special requirements before installation — for example, some plugins require specific Python or CUDA versions, and warnings are shown here.
Install as needed — it's a bit more convenient than manual installation.
Install Missing Custom Nodes
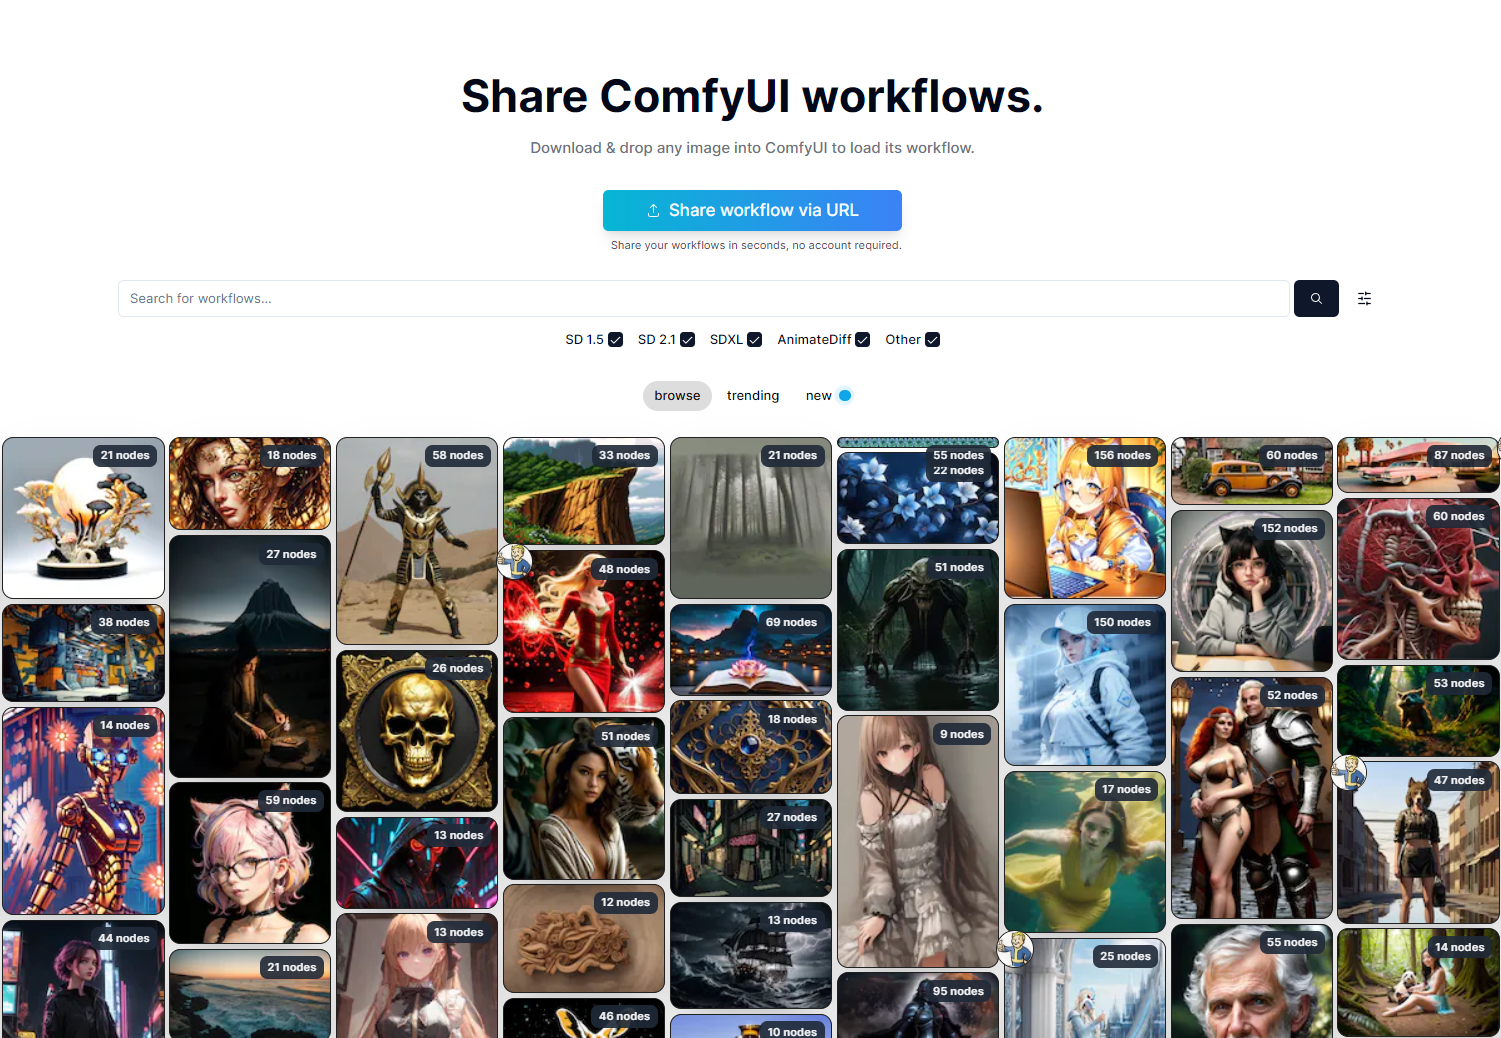
This is a very practical feature. The previous lesson covered how to use workflows. This website has tons of workflow references:
https://comfyworkflows.com/
When you download and load a workflow and find lots of red nodes:
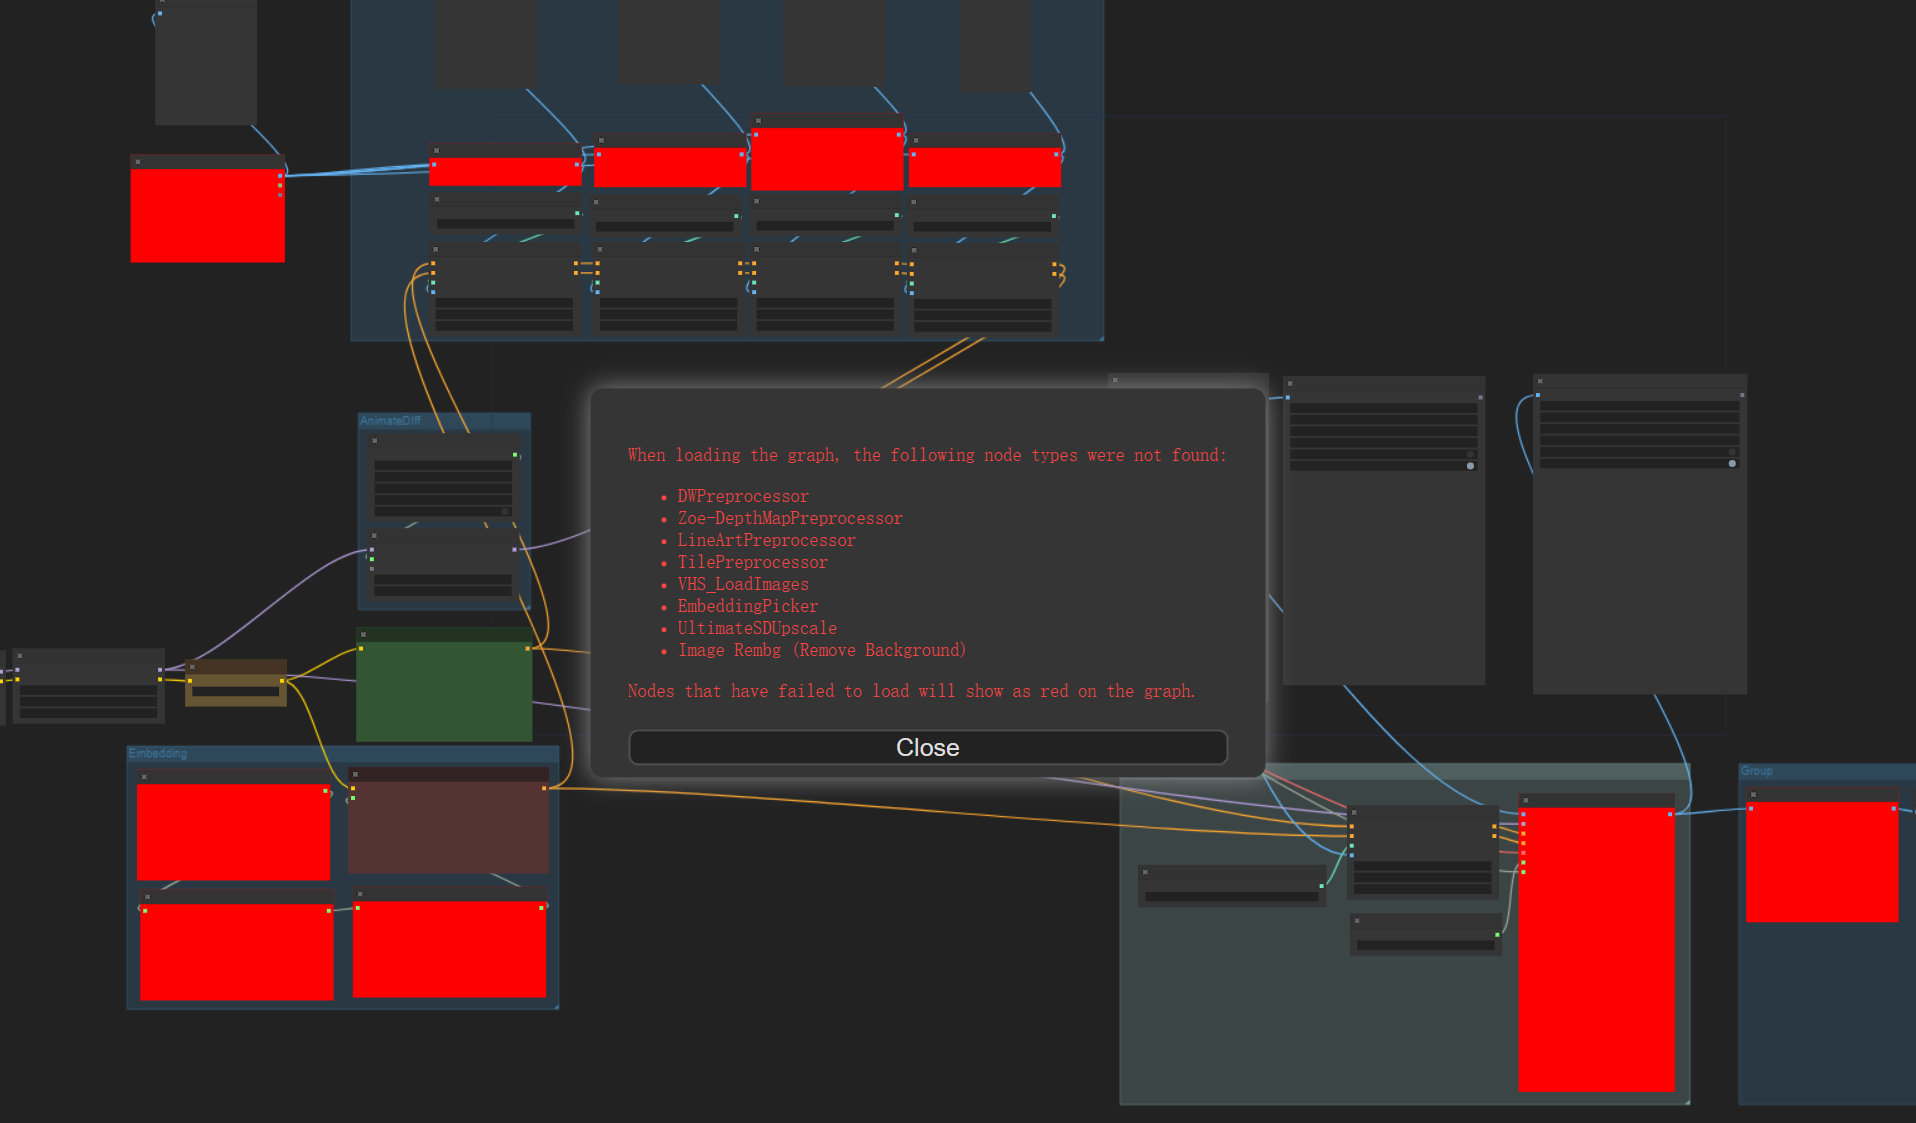
Don't panic — stay calm.
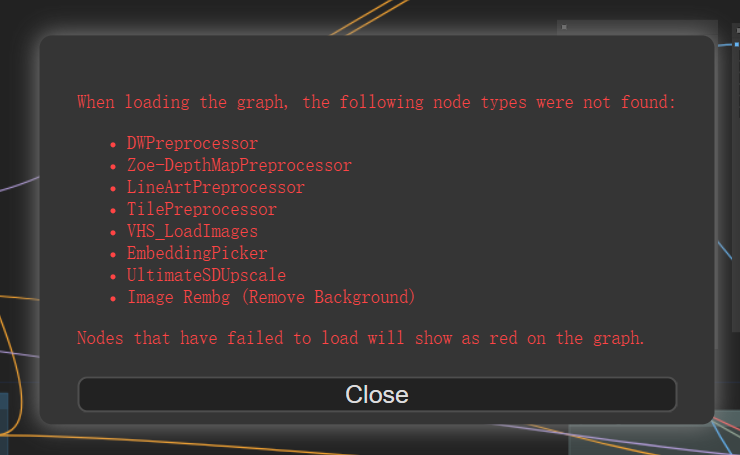
This is because some custom nodes are missing, and ComfyUI has already listed what's needed:
Just open Manager and click Install Missing Custom Nodes:
It automatically lists the plugins needed for this workflow:
Install them one by one.
Install Models
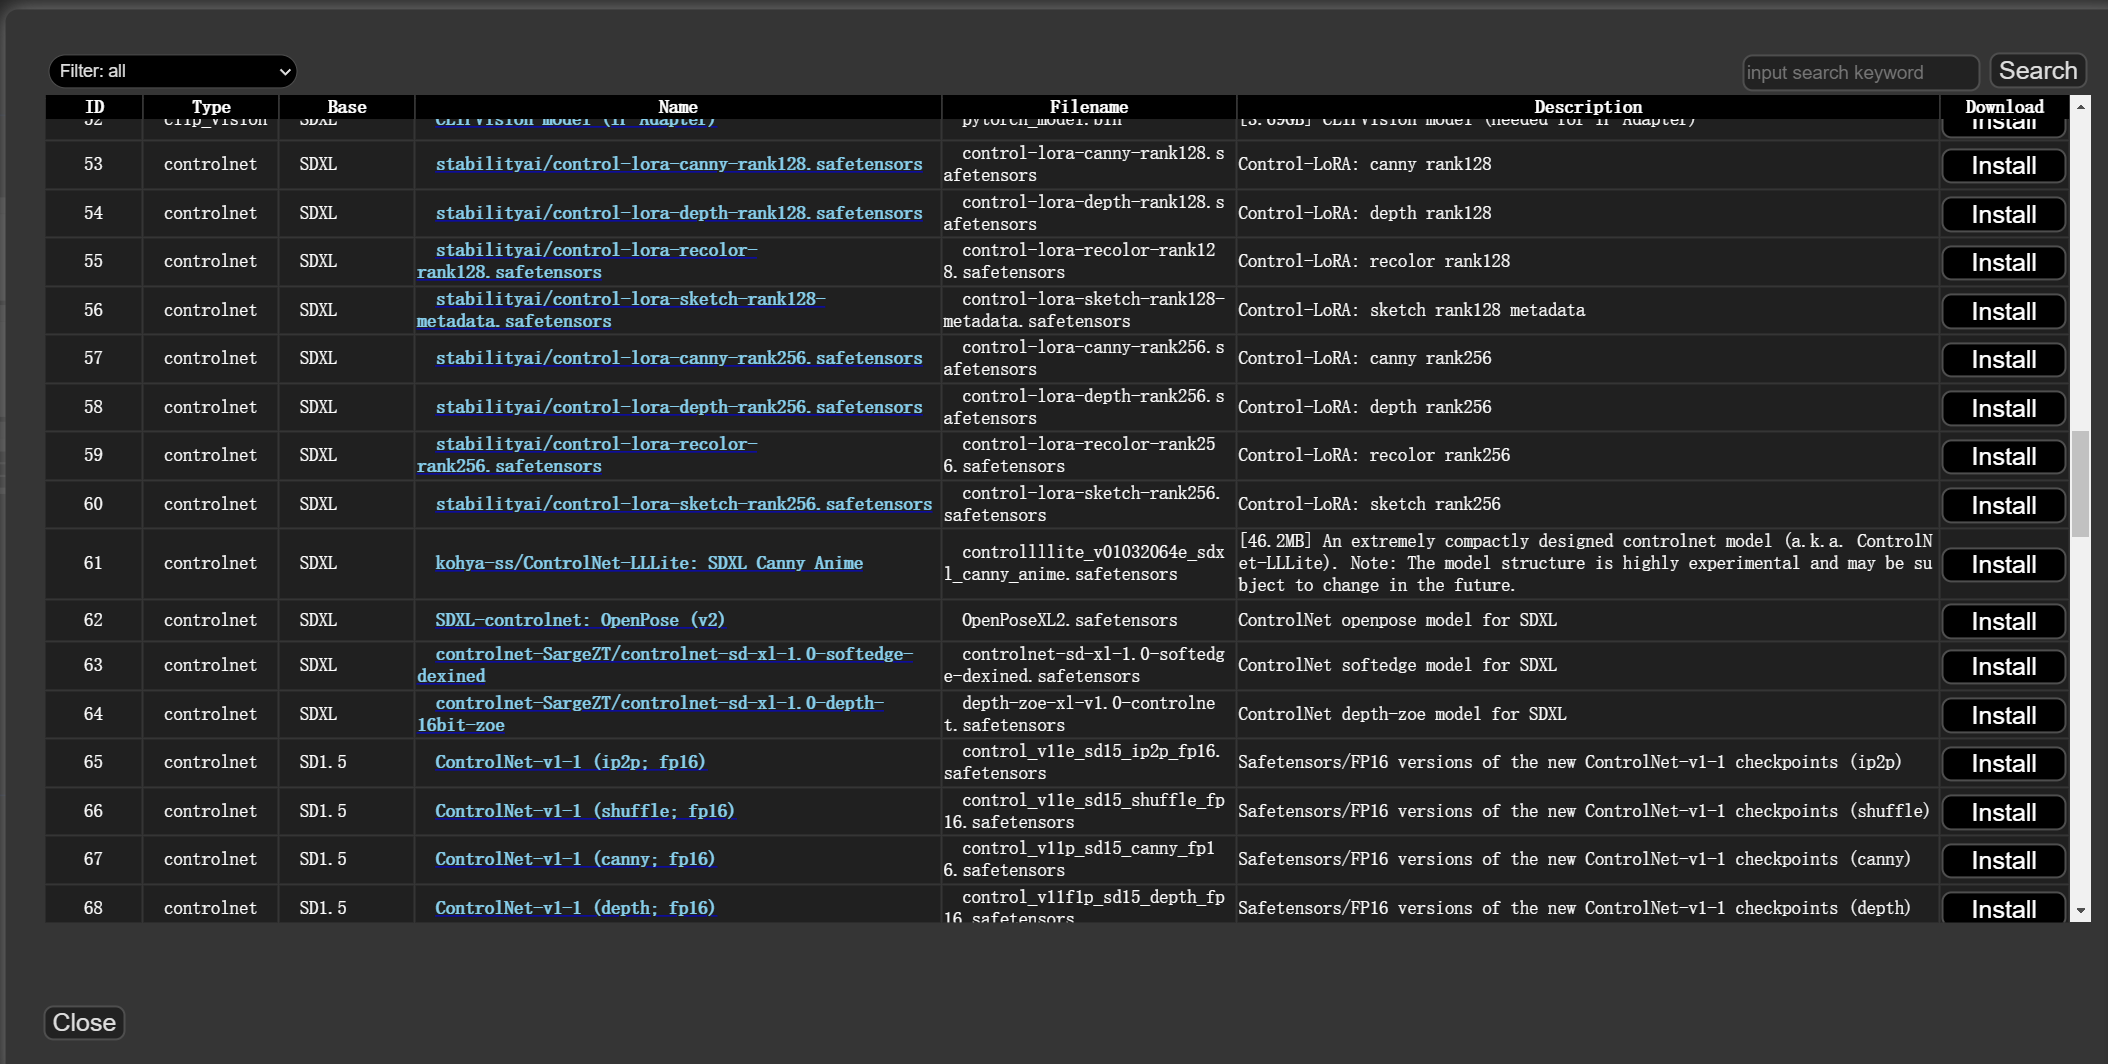
ComfyUI Manager also manages models.
Clicking it shows a model list, including base models, ControlNet, AnimateDiff, and much more — just select and install.
Advanced: I don't use this plugin to install models — instead I download them manually and keep all models in a shared folder on my computer, accessible by both ComfyUI and webui. See my other tutorial on sharing model files between webui and ComfyUI:
How to Share Model Files When Running Multiple Stable Diffusion Installations on One Computer.
Updating Plugins
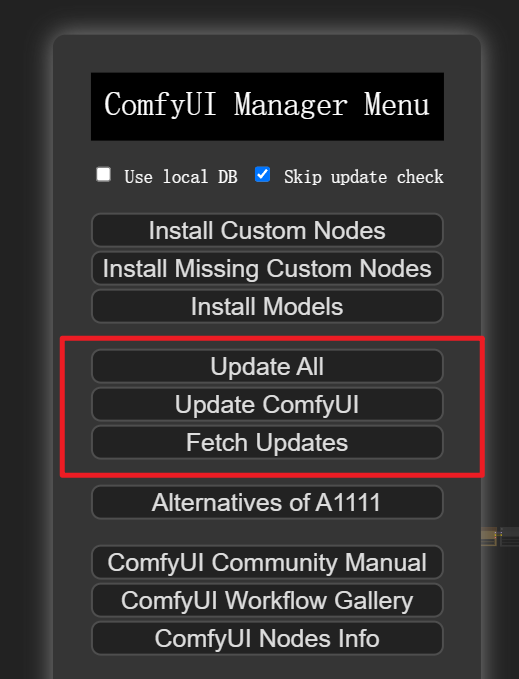
Use the manager to update ComfyUI and plugins.
Simple enough — no further explanation needed.
Follow us on social media: code2art
Community resources & courses: https://ghc.h5.xeknow.com/s/hzkMX
code2art Intelligence Center (membership): https://ghc.h5.xeknow.com/s/2BCFuJ
Cheers🍻
Contra